Well this was one such project.
Story: Me and the two M's were going through Target and the big M is unable to help himself when it comes to the clearance section. You just cant stop the man. So he was rummaging while I was entertaining (the lil M) and he called me over when he found what he thought was some nice T-shirts for $3. But upon my arrival he tossed them back in saying "Uhh, turtlenecks."
"Wait! - I could make something out of that!"
and sew I did.
 TA-DA!
Now let me show you how:
you start with your intact turtleneck.
 and then you promptly cut off your turtleneck. now you have a perfectly good t-shit and extra fabric to embellish it!
 cut along the seam line of the neck piece to open it up flat, then cut it into long strips. as long as you can make them, and get a minimum of 4 strips (I was able to get more).
 sew the strips end to end to make one long strip.
 Iron the strip in half length wise, wrong sides together.
 get out a needle and thread and weave it through the strip to gather.
 gather up the strip to fit the opening of you t-shirt neck.
two notes -
1) I cut the neck of my shirts into a scoup neck to open things up a bit and better show off the ruffles. I did this by putting on the shirt and marking where I wanted the neck line to hit, and then cut in a U shape just above that point, as some of the fabric would be eaten up by the seam allowance.
2) important step not shown: before placing your ruffles on the shirt TURN IT INSIDE OUT. I did this with my first shirt (the black one) but didnt with the tutorial one, just to see the difference and it didnt work.. (see the added ribbing to the tut shirt to cover the seams)
 so now your ruffle strip has been pinned on, the ruffles are evenly distributed, now with a long straight stitch, sew the ruffle on to the WRONG side of the shirt.
 when starting and ending your ruffle, leave about two inches of the ruffle not tacked down.
 place these two edges wrong side together and sew together. gather them down to the shirt (folded over like the rest to your ruffle) and stitch on to the shirt.
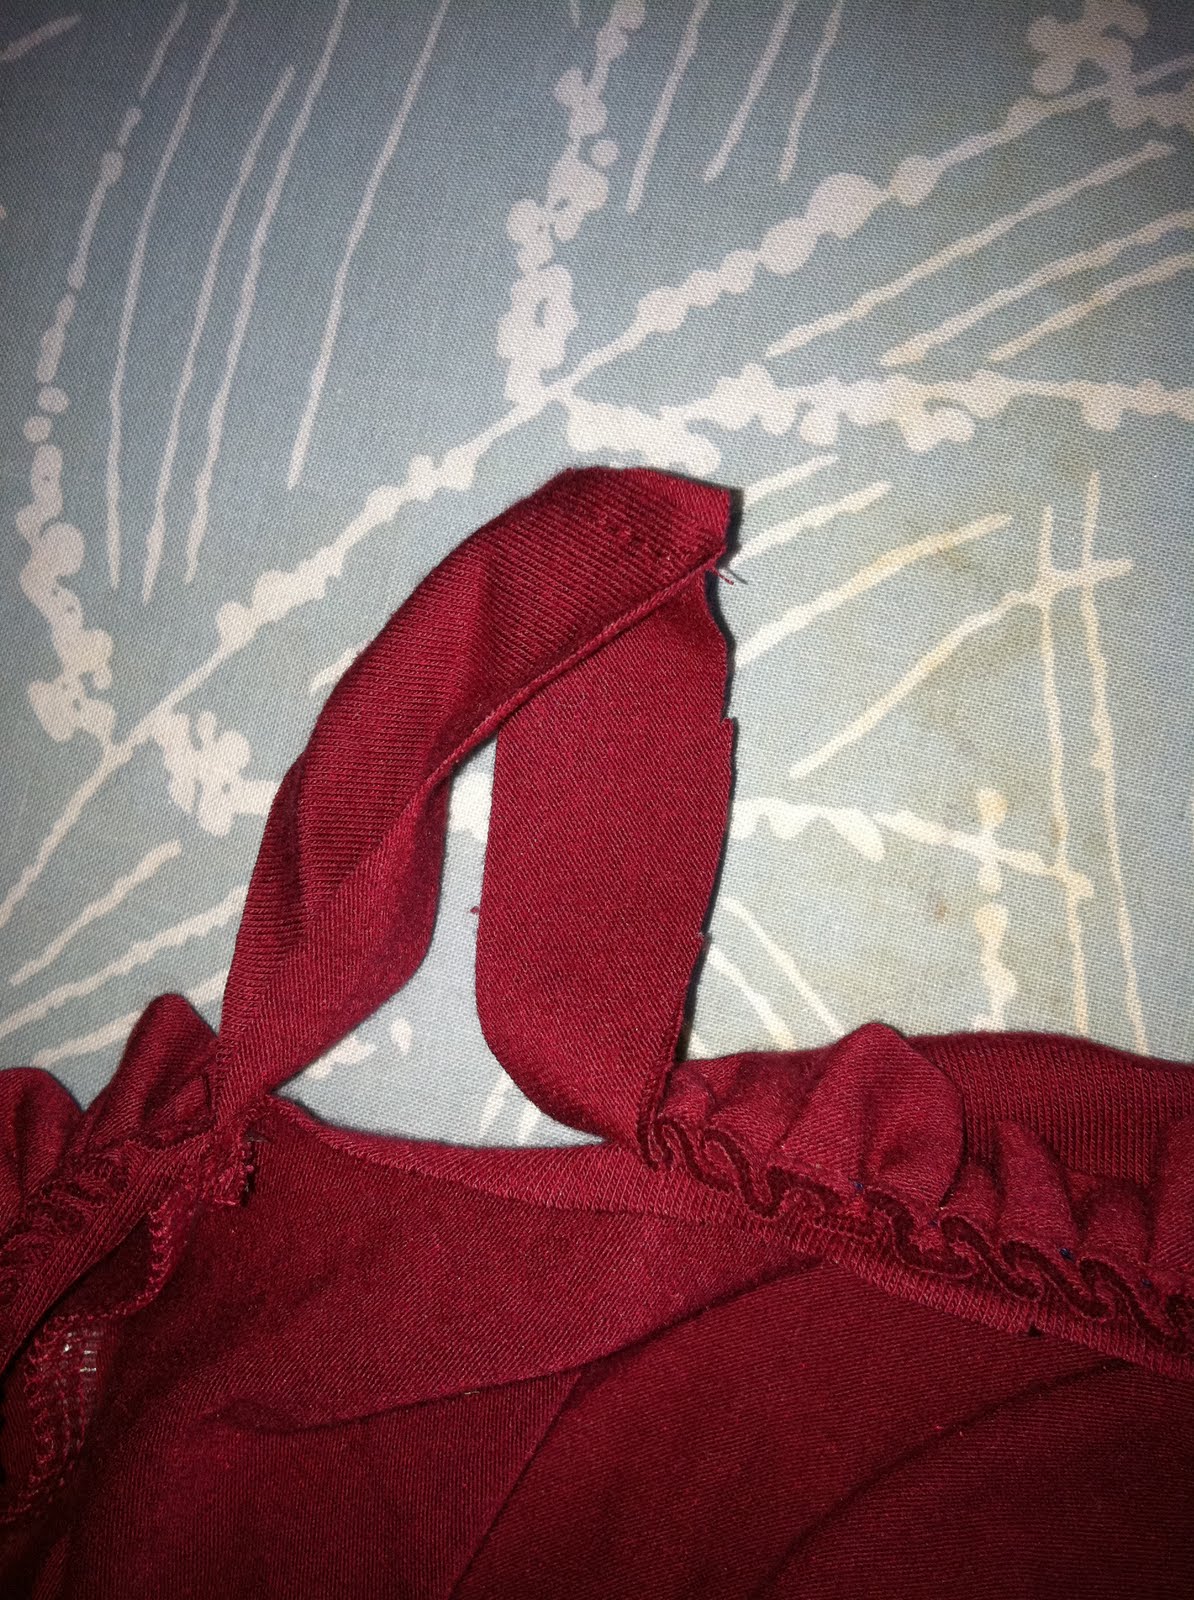 now if you followed my side notes and stitched the ruffle to the inside of the shirt, now turn the shirt right side out. the ruffle will be on the inside of you shirt. cut down the seam allowance and fold the band of ruffles through the neck hole, on to the front of the shirt. you will be closing off the seams by the fold. Use a long stitch and run it around the neck hole, thus tacking down the ruffles and hiding the seams. (see very first picture on this post)
and if you did sew the ruffles to the right side of the shirt: cut down the seam allowance and cut yourself a piece of coordinating ribbing and stitch it over top the seam allowance.
there you go.
 any one got any other ideas to re-fashion $3 turtlenecks?
I bought like 5.
much love
n

As usual, I'm in awe. So simple, but so stylish!
ReplyDeleteI love turtlenecks. When your neck is as long as mine, you look for ways to hide it, I guess.
ReplyDeleteThese look great!!!